Chat
The project chat tab is a central location for all general project communications.
Rooms
To create a room, click the Create room button at the top left of the screen. Upon creating a room, you'll see the permissions settings in the popup. Members invited at the creation of the chat can be removed later, and details of the chat can be edited.
Room visibility
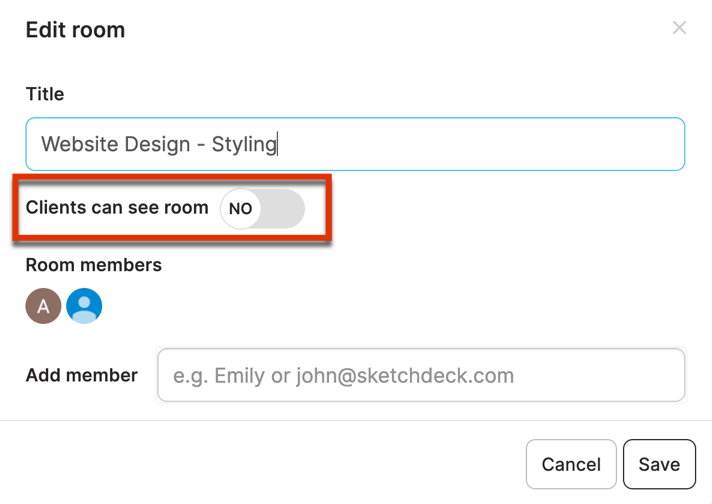
You can change a chat's visibility by clicking the edit icon beside the chat name and toggling the Clients can see room option on or off. Internal rooms will display a lock icon, while rooms visible to client teams will display a globe icon.

Chat Members
Members of a chat are displayed under the chat name in the left sidebar and are displayed at the top of the chat window when a chat room is opened. To add or remove members after the chat has been created, click the Edit icon for the room and enter an email address, or click the member’s profile icon to remove the member from the chat. You can also remove members by clicking the dropdown beside each individual member name in the chat window and selecting Remove from room.
Shared files
Files and attachments shared in the chat will appear in the Files tab under the From chat and pins tab. Files from the chat are also included in client delivery screen, which can be viewed in the History tab. Any files shared in the chat will be added by default to the next client delivery unless removed.
Updated 10 months ago
